
Camera Module Sample Test Checklist
Approve a sample with a repeatable record covering identity, host integration, image quality, mechanics and recovery.
Prepared by Honglan Electronics
Treat a sample test as a small acceptance project. The objective is to learn whether a specific camera assembly meets a specific equipment requirement, while preserving enough evidence to repeat the result. A short video that looks good on a bench is useful exploration, but it is not a production approval.
Register the sample before testing
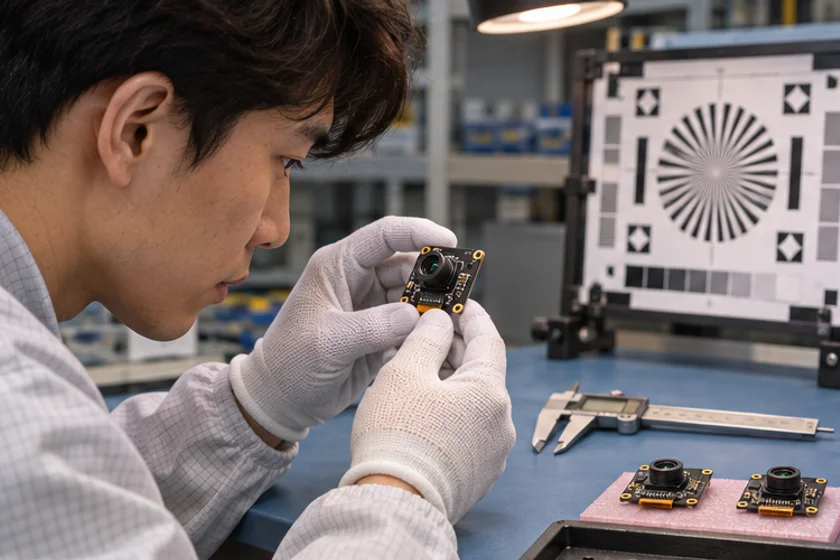
Record the module identifier, sensor information provided by the supplier, lens, cable, firmware and visible revision markings. Photograph the assembly and retain the supplied documents. If an item cannot be identified, list it as an open question rather than filling the field from an advertisement.
Record the host hardware, operating system, application build, capture API and connection topology. Include hubs, adapters and power supplies. Label original captures so they remain associated with the relevant sample and test run.
Confirm the capture mode
Enumerate the supported modes and choose the intended resolution, format and frame interval. Read back what the application negotiated. The Linux V4L2 model of associating frame intervals with a format and size is helpful for organizing this record, even when your test runs on another operating system.
Check continuity over an agreed duration under the intended workload. Record errors and timing gaps, not just a displayed average FPS. Keep transport reliability separate from the image-quality assessment.
Inspect the actual task
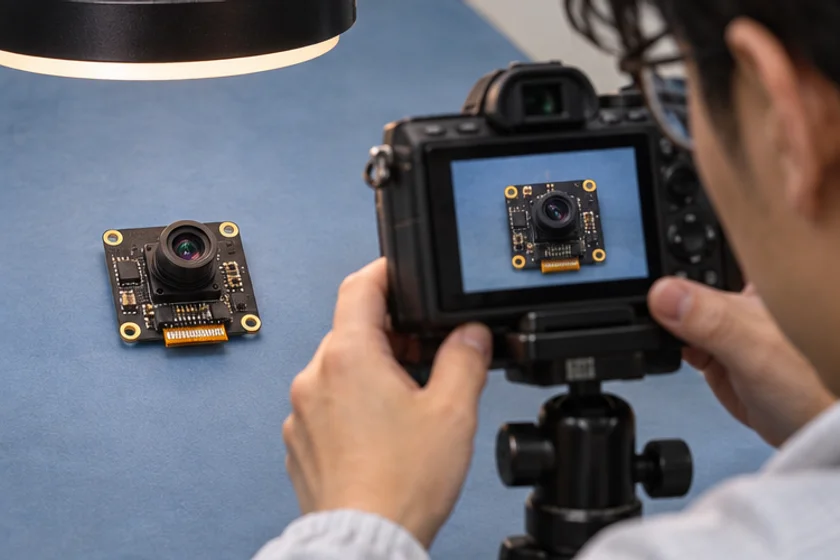
Use representative targets at the nearest, nominal and farthest distances. Include the smallest relevant features, the required coverage and difficult image regions. Repeat with expected movement and lighting extremes.
Keep fixed-settings comparisons separate from automatic-control tests. Save exposure, gain and processing settings where available. EMVA's characterization framework can inform questions about camera specifications, but your application acceptance still needs its own target and criteria.
Check the installation
Verify mounting, cable access, strain relief, lens clearance and enclosure interference against the proposed production arrangement. Test with any protective window installed. Inspect image orientation and the application's treatment of rotation or mirroring.
Do not force a sample to fit an unapproved mechanical arrangement. Record the interference and resolve the drawing. A modification performed informally on the bench should not silently become the approved production design.
Exercise recovery
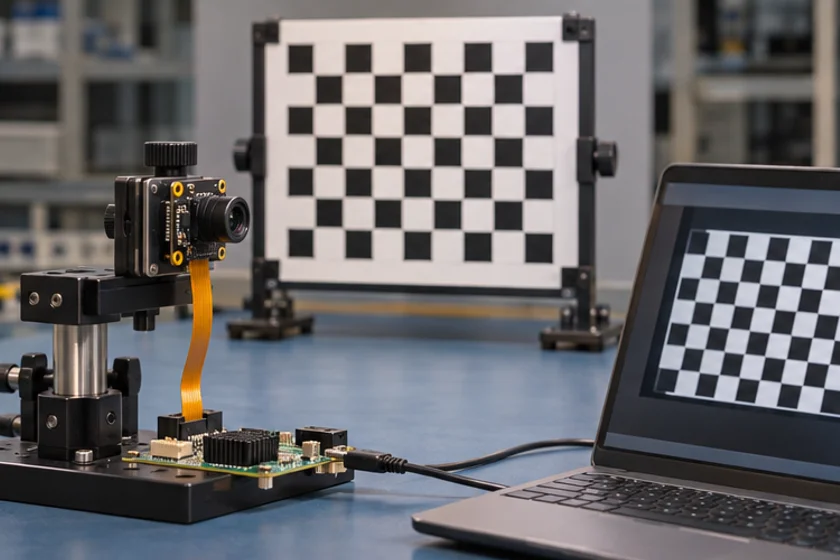
Test cold start, application restart, disconnect and reconnect, and any supported suspend or power-saving states relevant to the equipment. Define what users see during failure and how operation resumes. For multiple cameras, verify reliable identification and reconnection.
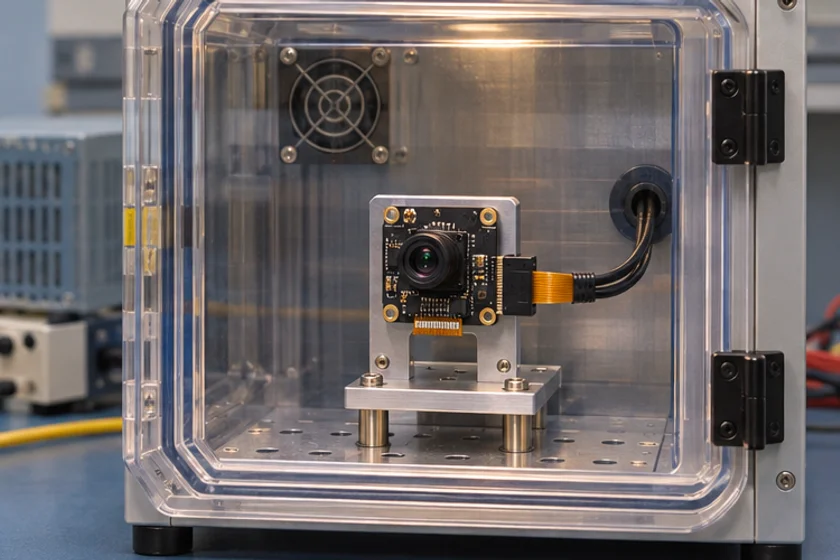
Repeat important tests after the assembly has operated long enough to reach representative conditions. Environmental or endurance testing should use conditions agreed with engineering, not arbitrary claims inferred from a product category.
Close the decision
For each requirement, mark pass, fail or not tested and attach evidence. “Not tested” is not a pass. Identify who approves exceptions and what must be rechecked after a revision.
Retain the accepted sample, test script, original captures, settings and drawing version. Link that package to the purchase specification. If a production unit changes, this reference makes comparison possible.
Review sample-to-production quality before ordering volume units. Send your completed test findings with reproducible failure steps so the next discussion can address evidence rather than impressions.
Apply this to a camera module
For the OV9281 board module, begin with the listed 720p MJPEG mode and record the negotiated output format before testing motion.
Technical references
- Record sample identity
- Verify capture and image detail
- Check fit and recovery
- Document the approval decision
Can one good capture approve a module?
It demonstrates one condition. Approval should cover the required host, modes, targets, installation and recovery conditions.
How should an untested requirement be recorded?
Mark it not tested, identify the missing method or dependency, and assign an owner before approval.